Creating a Bootable USB Memory Drive
The downloaded file contains the files necessary to create a bootable USB Memory Drive.
Caution: Drive will be formatted and all data on USB drive will be lost. Back-up any important data located on drive before proceeding.
Note: For more information, refer to the NCR Imaging Suite User Guide.
1.Insert a USB drive to be made bootable.
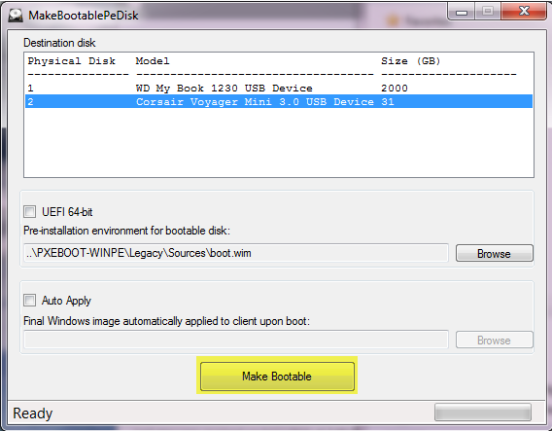
2.Launch MakeBootablePeDisk.exe located within \ImagingSuite_X.X.X.X\Utilities\.
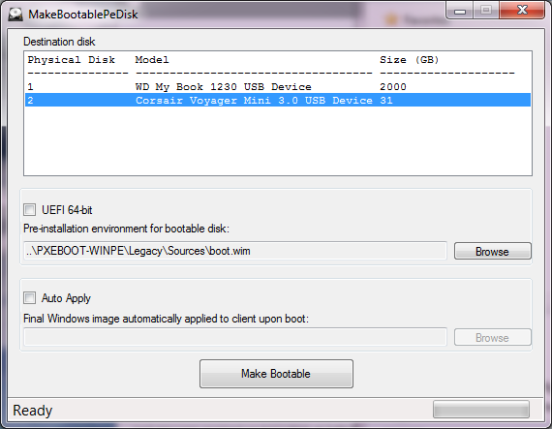
3.Select the drive you wish to become a bootable USB disk.
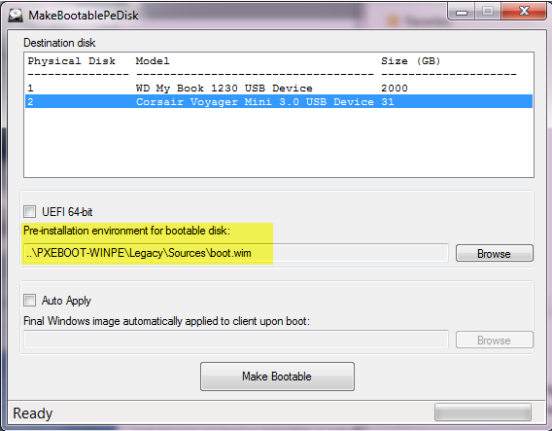
4.A pre-instalation environment for bootable disk is provided by default. Select the boot.wim. This automatically launches the Imaging Client when the WinPE boots. Advanced users, if required, can browse to an alternate bootable WinPE boot.wim.
Optional: The USB drive can be optionally made to automatically apply a specific image. To do this, click the “Auto Apply” check box and browse to the image (.WIM) that will be applied upon boot of the USB drive.
5.Select Make Bootable.